
I’ve leveled enough shed sites to know that skipping foundation prep causes settling and rot. Start by clearing debris and checking for standing water, then mark your footprint with stakes and string lines.
Next, remove topsoil and fill low spots with compacted gravel. Level everything using a string line, checking corners and the center.
Finally, set foundation blocks on pea gravel and verify they’re all even. These basics prevent structural damage and extend your shed’s lifespan significantly.
Step 1: Choose and Clear Your Shed Site
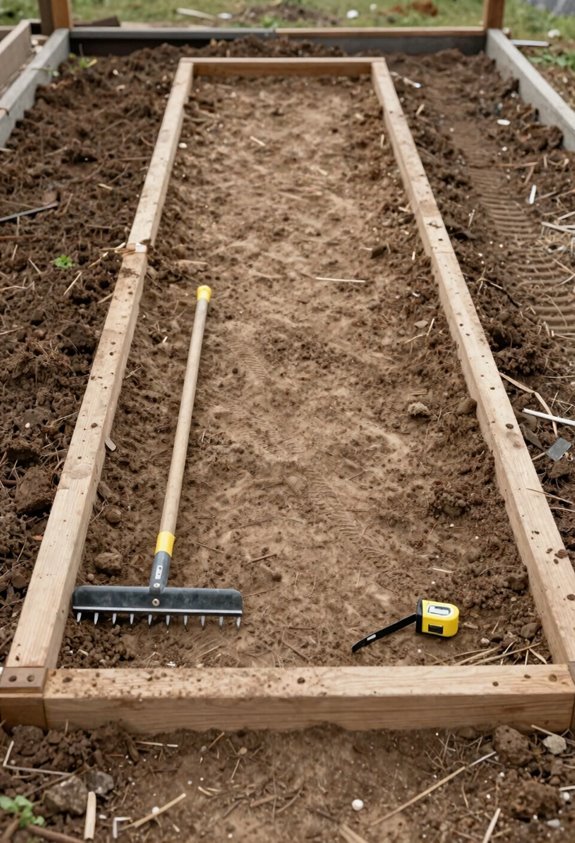
Where you place your shed affects its performance and longevity. Selecting the right shed site prevents structural problems later. First, scout for a flat surface, as uneven ground causes settling and damage over time. Next, clear the area completely by removing debris, rocks, and vegetation to create a stable foundation.
Check for moisture problems. Standing water compromises soil stability and reduces the shed’s lifespan. Maintain a clearance space of at least three feet around the shed for access and ventilation. If your footprint exceeds 160 square feet, increase this to four feet.
During excavation, level everything within six inches. This preparation ensures your shed sits securely and remains dry year-round. Proper site preparation prevents costly repairs.
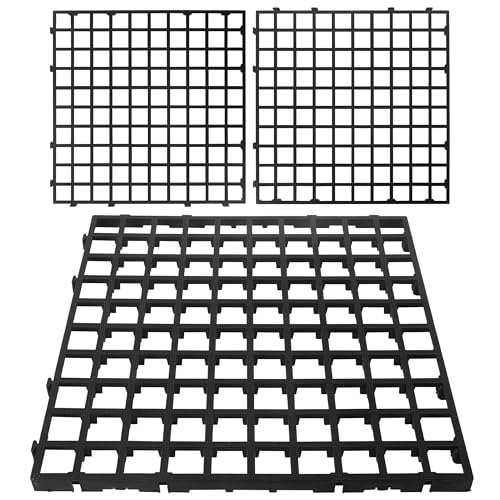
【Superior Material and Detail】Our permeable paver system, made entirely from 100% recycled plastic, offers superior durability and strength. The set comprises 12 units, each 1 inches deep, and covers 32 square feet. This gravel paver solution provides an efficiently and long-lasting option for various applications.
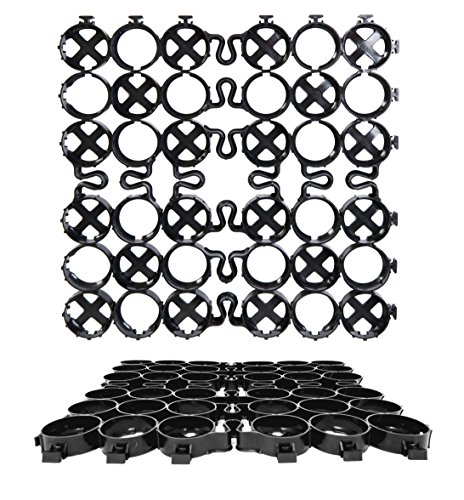
EASY TO USE: Our lightweight permeable pavers are easy for any level of DIYer to install; Feel proud of your own outdoor home improvements!

24 Deck Blocks: You will receive 24 black deck blocks, and 48 screws. The screws make it easy to secure joists or beams to the pedestals for extra stability, ensuring your deck, shed, or flooring stays level and safe.
Step 2: Mark and Measure the Footprint
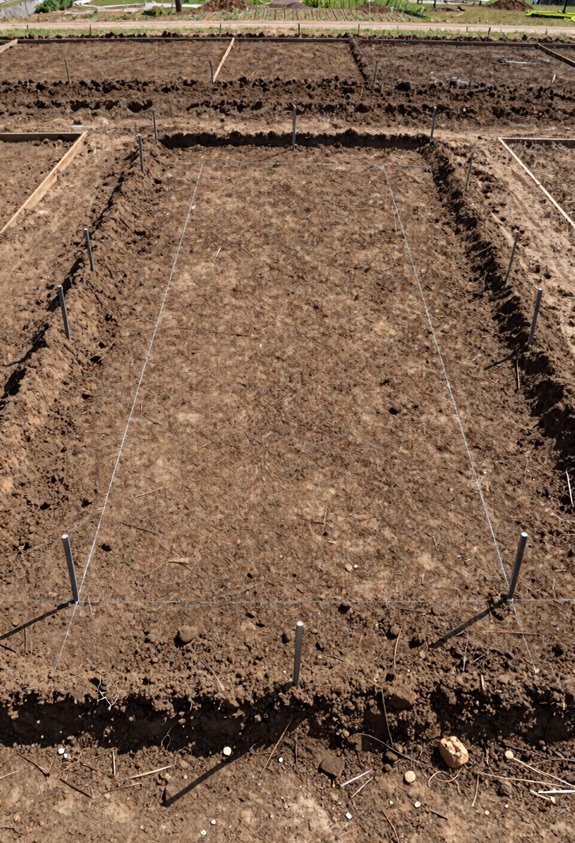
Accuracy is everything when you’re laying out your shed’s foundation. Start by placing stakes at each corner to mark your boundaries. Run a string line between opposite stakes to verify straight edges and true alignment. This step prevents alignment errors during construction.
Next, grab your tape measure and confirm all sides match your shed’s specified width and length. Measure the diagonals across opposite corners. If they’re equal, your footprint is square. If not, adjust those stakes until they match.
Finally, include extra surrounding space beyond the walls for ventilation and drainage. This buffer zone prevents moisture accumulation and allows air circulation around the structure. Proper spacing during layout eliminates costly adjustments during construction.

Solid Durble Ground Grid : The ground grid paver is made of HDPE material, tensile, which is supersonically welded for durability. Perfect for driveway installations on slopes and/or flat areas.
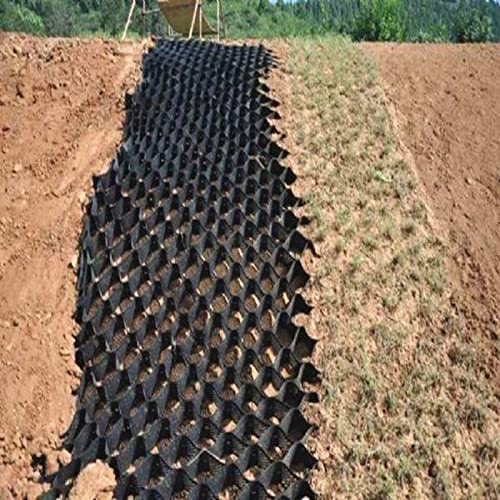
▶ Solid Durble Ground Grid --- The ground grid paver is made of HDPE material, tensile, which is supersonically welded for durability. Perfect for driveway installations on slopes and/or flat areas.
Solid Durble Ground Grid : The ground grid paver is made of HDPE material, tensile, which is supersonically welded for durability. Perfect for driveway installations on slopes and/or flat areas.
Step 3: Remove Topsoil and Fill Low Spots
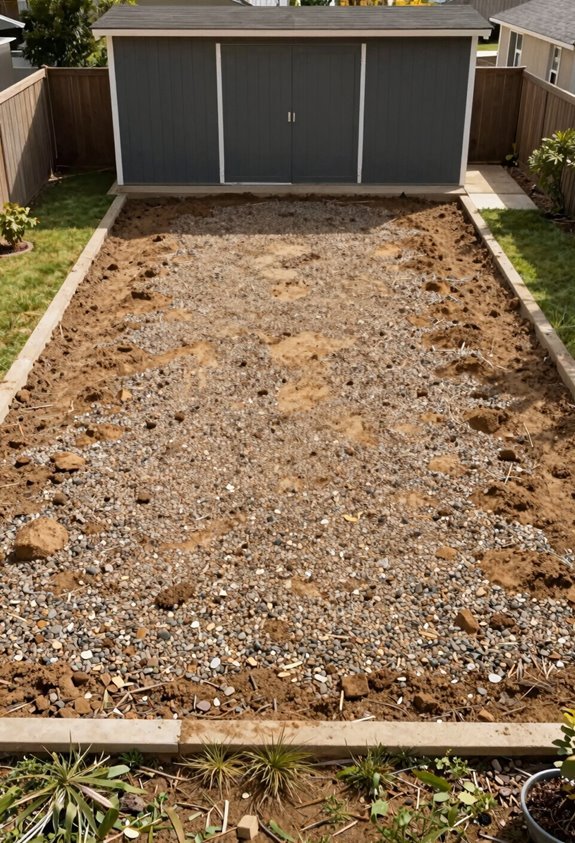
Why does the ground underneath matter so much? A solid foundation prevents future headaches with your shed. Here’s what I do:
- Remove topsoil to expose stable subsoil—this is your actual base
- Dig out any low spots and fill them with gravel or compacted fill
- Use a string line or laser level to verify everything’s flat
- Recheck depths around corners and door openings to prevent sagging
After filling low spots, I compact everything with a hand tamper or plate compactor. This minimizes settling and keeps your level ground stable long-term. I also recheck depths around corners because that’s where problems develop. A uniform surface now means your shed sits perfectly for years without shifting or misalignment issues.

Includes two weather resistant aluminum c clamps, for fast and Easy installation and removal.

Compact and Lightweight: Weighing just 44 lbs, it’s easy to maneuver and transport, even in tight spaces.

Professional Machine - The self-propelled plate compactor has a 196cc/6.5HP engine, delivering 10 inch compaction depth of 2,500 lbs of compaction force and 5,500 vibrations per minute; Raising the density of loose dirt, soil, gravel, sand, asphalt and other media to form a strong & level foundation.
Step 4: Compact and Level the Base
How do you make sure your foundation won’t settle unevenly later? Compacting your base properly is essential. After spreading gravel and fill material, use a hand tamper and work methodically across the entire area. Thorough compacting prevents future settling issues.
Next, recheck with your level at the corners and center, looking for any uneven ground. One or two soft spots can cause significant problems down the road. If you spot inconsistencies, add more gravel and compact again until your level readings stay consistent everywhere.
Finally, document your measurements at each corner and center point. This record guides your foundation blocks placement accurately, ensuring your shed remains stable and level.


PREXISO Square Laser: 30Ft Red Beam Floor Laser Level, Tile Laser Line Projection, 90° Layout Guide Magnetic Level Square Built-in 2 Bubble Vials, with Leveling Plate, 2 AA Batteries

【Ultra-Bright Green Beam & High-Precision Accuracy】Powered by an advanced green laser diode, this tool delivers 4X the brightness of standard red lasers (laser level 360 self leveling). The vivid green cross-line remains clearly visible indoors up to 100ft, even in well-lit conditions. Enjoy professional-grade precision with ±1/9 inch accuracy at 33ft (±3mm @10m) and a wide 110° projection angle. Whether tiling a wall or installing shelving, achieve perfect alignment with zero guesswork. (Class II <5mW, IP54 dust/water resistant),
Step 5: Add Foundation Blocks (If Needed)
Once your base is compacted solid and level, you’re ready to set foundation blocks if your shed needs them. Masonry blocks create stable footing supports that prevent your shed from settling unevenly over time.
- Place blocks on the pea gravel at corners and midpoints along the shed’s length
- Use a spirit level to check each block, adjusting with a hammer or rubber mallet
- Verify all block surfaces are level with each other
- Recheck after installation to confirm your level surface hasn’t shifted
Proper installation ensures your shed sits on a sturdy, stable platform that will last for years. Uneven footing causes structural problems that are costly to repair.

Complete Landscape & construction string line kit: The string level line kit includes 1 Pack of orange construction string, 5 string levels, and 20 garden stakes. The Mason line features a handle for easy grip and use, and you can easily refill the spool at any time. This all in one kit is designed to meet your immediate needs for various projects. Whether you're starting a new garden or building a fence, this set can help you align, measure, and mark locations for installations

Product: Hanging line level string levels, red color.

【Complete Masonry String Line Kit】 Includes a post and pipe level with rubber strap, 5 line levels, 2 beech wood line blocks, 2 rolls of 540FT 8-strand braided mason line, and a reloadable reel—everything needed for layout, marking, and leveling across multiple applications


